Alarm Installation Checklist: 7 Texecom Best Practices for Installers
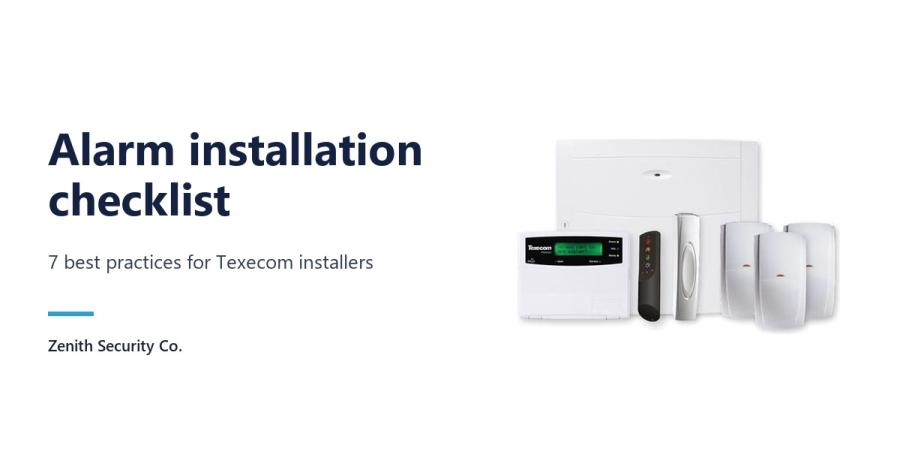
Seven Texecom field habits help cut call-backs: plan the panel position, size the battery, flash firmware safely, choose wired or wireless per area, screw-fix peripherals, check signals and site the bell box where it deters. Run this alarm installation checklist alongside your normal commissioning and handover, not instead of it.
The advice comes from Steven Gartside, an experienced Texecom alarm technician. These are field tips, not a compliance checklist: grade, design, standby power and commissioning still follow PD 6662 and BS EN 50131-1, BS 8243 where police response is needed, and your NSI or SSAIB body's rules.
Your alarm installation checklist at a glance
| Stage | What to check | Tool or product |
|---|---|---|
| Survey and panel position | 50cm clearance; unswitched spur away from the aerials | Site plan |
| Standby power | Battery covers the grade's standby time | Texecom EN Calculator |
| Firmware | Backup saved; COM ports clear; system retested | Wintex, Premier Elite Flasher |
| Detection | Wired where stability matters; every detector walk tested | Capture D20, Ricochet devices |
| Peripherals | Countersunk screws; sensitivity set for the surface | Micro contacts and shock sensors |
| Diagnostics | Signal and mesh checked before final fixing | Ricochet Monitor, SmartCom Pro |
| External sounder | Visible but out of reach | Odyssey X-BE plus X1 or X3 cover |
| Handover | System tests, certificate and signed handover | Commissioning certificate |
1. Survey the site and position the panel
Map the job out before drilling, because the panel's position affects every wireless device.
- Texecom advises at least 50cm between the wireless panel, receiver or any transmitter and nearby metalwork, mains supplies or other interference.
- Feed the panel from an unswitched fused spur, brought in on the opposite side from the aerials where you can. A competent person should make the mains connection to BS 7671 and the panel manual, once all other wiring is finished.
2. Size the standby battery properly
Texecom notes that undersized or poor standby batteries can cause early failures and needless visits.
Enter every powered device, including keypads, detectors, communicators and the sounder, into Texecom's EN Calculator. It totals the load and shows whether the battery covers the standby time the grade requires: 12 hours for a typical Grade 2 system. Fit a quality battery of at least that size, and add a separate power supply if the panel cannot carry the load.
3. Back up before you update firmware
Out-of-date firmware can cause faults and compatibility problems. Follow this order to avoid corrupted data and unwanted signals:
- Tell the customer and put a monitored system on test with the alarm receiving centre (ARC).
- Back up the panel's programming in Texecom Cloud or Wintex.
- Disconnect anything on the panel's COM ports.
- Update the panel with the Premier Elite Flasher.
- Reconnect the COM devices, check the programming against your backup and reload it from Wintex if needed.
- Test the system, including each signalling path, before taking it off test.
Texecom says Version 5 and above can also be updated remotely through Texecom Cloud.
4. Match wired or wireless detection to each area
Many modern systems are hybrid, so choose room by room.
Where wired makes sense
Texecom suggests the wired Capture D20 for garages and other areas where a stable connection counts. We stock the Texecom Capture D20 20m dual tech detector (AKD-0001). Once fitted, walk test it to confirm coverage and zone.
Where wireless fits
Commission each Ricochet wireless device in its intended position, checking its Mesh Signal Security and signal strength before you fix it, then walk test it like a wired detector. For a wireless-led job, the Texecom Premier Elite 24-W Ricochet wireless kit (KIT-0064) pairs the 24-W panel with Ricochet wireless.
Either way, write the zone number on or inside each device to speed up servicing.
5. Fix contacts and shock sensors for Grade 2
Adhesive pads are quick, but Texecom is clear that micro contacts and shock sensors also need countersunk screws to meet Grade 2. We stock the Ricochet Premier Elite Micro Contact-W and the Ricochet Premier Elite Micro Shock-W.
- Set shock sensitivity to suit the mounting surface. Too high is a quick route to false alarms.
- Keep sensors away from cookers, boilers and other heat sources, and out of direct sunlight.
6. Check signals before you commit
Texecom's Ricochet Monitor gives real-time diagnostics, so you can check signal strength and mesh performance before fixing a device permanently. SmartCom Pro's QR code set-up speeds up connection and links into mobile apps for remote monitoring.
7. Site the external sounder as a deterrent
A bell box warns visually as well as audibly. Texecom highlights that the backlit Odyssey X stays visible after dark, even when unset. We stock the Odyssey X-BE external sounder backplate with backlight (WDC-0001), which needs an Odyssey X1 or X3 cover, sold separately. A backlit dummy bell box suits other elevations.
Mount the sounder where it is visible from the street but hard to reach or tamper with.
Before you leave: commission and hand over
Texecom's tips stop short of commissioning, so finish with your usual BS 9263 process:
- Walk test every detector and confirm each reports to the right zone and zone type. Check wired zones' end-of-line set-up matches the programming.
- Test every tamper, the sounders and the strobe.
- On a monitored system, send a test signal down each signalling path while it is on test with the ARC.
- Complete the commissioning certificate and as-fitted record, leave the log book, train the users and get the handover signed.
Kitting out your next job
Browse our full Texecom alarm range or the wider intruder alarms category. If you need a Texecom item you cannot see online, such as SmartCom Pro, contact us for availability.
As Texecom puts it, "Fewer unnecessary call-backs mean more time spent on new installations."
Source: this checklist is based on Texecom's best-practice guidance for alarm installers, rewritten by Zenith Security Co.
Alarm installation FAQs
How far should a wireless alarm panel be from metal and mains supplies?
Texecom advises at least 50cm from metalwork, mains supplies and other interference. Bring the unswitched fused spur in on the other side of the panel from the aerials.
How do I work out the right standby battery size?
Enter every powered device into Texecom's EN Calculator and check the battery covers the standby time for the system's grade, typically 12 hours at Grade 2. Undersized or poor batteries can lead to early failures.
Can Texecom panel firmware be updated remotely?
Texecom says Version 5 and above can be updated remotely through Texecom Cloud. Before using the Premier Elite Flasher, back up the programming and disconnect anything on the COM ports.
Are adhesive pads enough for wireless contacts and shock sensors?
Not for Grade 2. Texecom says micro contacts and shock sensors need countersunk screws to meet Grade 2, rather than relying on adhesive strips alone.